Sunday, May 15, 2011

How To: Upholster a Headboard

    As promised, here it is!! Now there are two ways to upholster a headboard, either upholster an existing headboard, or upholster a cut sheet of plywood. I did the first option. For a long time I have not been a fan of the headboard in our guest room so as I have decorated the room bit by bit, this was one of my final touches! This room was pretty fun for me because there's a lot of personal touches in it; from a photo screen my grandpa made with landscape photos I took, to the artwork I painted above the bed, to the new upholstered headboard, it's been so much fun I'm kind of sad to be done...guess that means I'll have to find another room! :) Below are photos and instructions of how to upholster a headboard:

Supplies:
Wooden headboard
Foam (One bag was just enough, but it depends on the size of your headboard)
Batting (Same as above, I doubled the batting over)
Fabric (amount of fabric depends on the size of your headboard)
Iron
Staple gun

Before:

Step 1:
Lay out your foam and place your headboard face down on top. Start stapling it to the back, making sure your continuously pulling it tight. There's no need to put foam around the legs at this point.

Lay it out


Staple it


Finished from the back

Finished from the front
 Step 2:
Next, lay out your batting and do the same thing, remembering to pull tight as you go. I kept the batting folded over so it was doubled up. At this point, wrap the legs as well.

The legs make it a little more tricky


Finished from the back


Finished from the front
Step 4:
Iron your fabric front and back multiple times. You do not want any imperfections on your final piece so ironing out every wrinkle in important.
Step 5:
Wrap your fabric just as you have the other materials paying extra attention to smoothing the fabric and keeping wrinkles out. Before stapling your corners, wrap them and position the fabric in a way you like that looks nice, I played with mine a bit before it layed perfectly. The legs will be the trickiest part. Make sure you fold your edges over so there's a nice, clean, seamless look.


Pull tight and staple


Fold edges for a clean look


Don't forget to punch the holes in the batting and fabric
so you can re-attach your headboard!
Step 6:
Re-attach your headboard and admire your work! This project did not take me long at all. It was easy and made a big difference in the room!


    I hope y'all enjoyed another "how-to" craft project! I hope to see some that y'all make too, if you're going to use plywood you can have it cut into neat shapes, or drill through it and have a tufted headboard! There's lots of possibilities and plenty of room to get creative, happy crafting!
Love,
Carrie


Tuesday, May 10, 2011

Spring fever!

    Once again, it's been over a month since I've posted...sorry! I've had a few regular readers tell me they've been checking back to see if I've written so I figured it was time that I did. It's been so nice out, I've had spring fever and just haven't spent much time inside.
    As usual, Andrew and I are very busy! He is in yet another semester of class BUT we are on the official final countdown!! He will be done in less than a year and will officially graduate as of a year from last weekend. We are so excited and can't wait to celebrate his accomplishment...hopefully with a nice, long, well deserved vacation :)
    We had lots going on in April, I was able to go to Texas to be there for Kal's (our nephew) first birthday party, as well as one of Kailey's t-ball games. Kal has grown so much since we saw him in November and is crawling all over the place! He is such a sweet and happy baby boy. Kailey is as smart and precious as ever, one of the cutest things is how she loves to play hide and go seek...in the car! Lol She did great at her t-ball game but seemed to be WAY more interested in playing in the dirt than playing the game! She even bent down in the middle of running to second base to pick up some dirt! I have a couple photos from my trip below.
    We also got to host Easter at our house this year. I absolutely love entertaining so it was a lot of fun for me to decorate and the tables as well as make some yummy lemon raspberry filled cupcakes ("how-to" coming very soon!) It was a great day and we had a wonderful time with family.
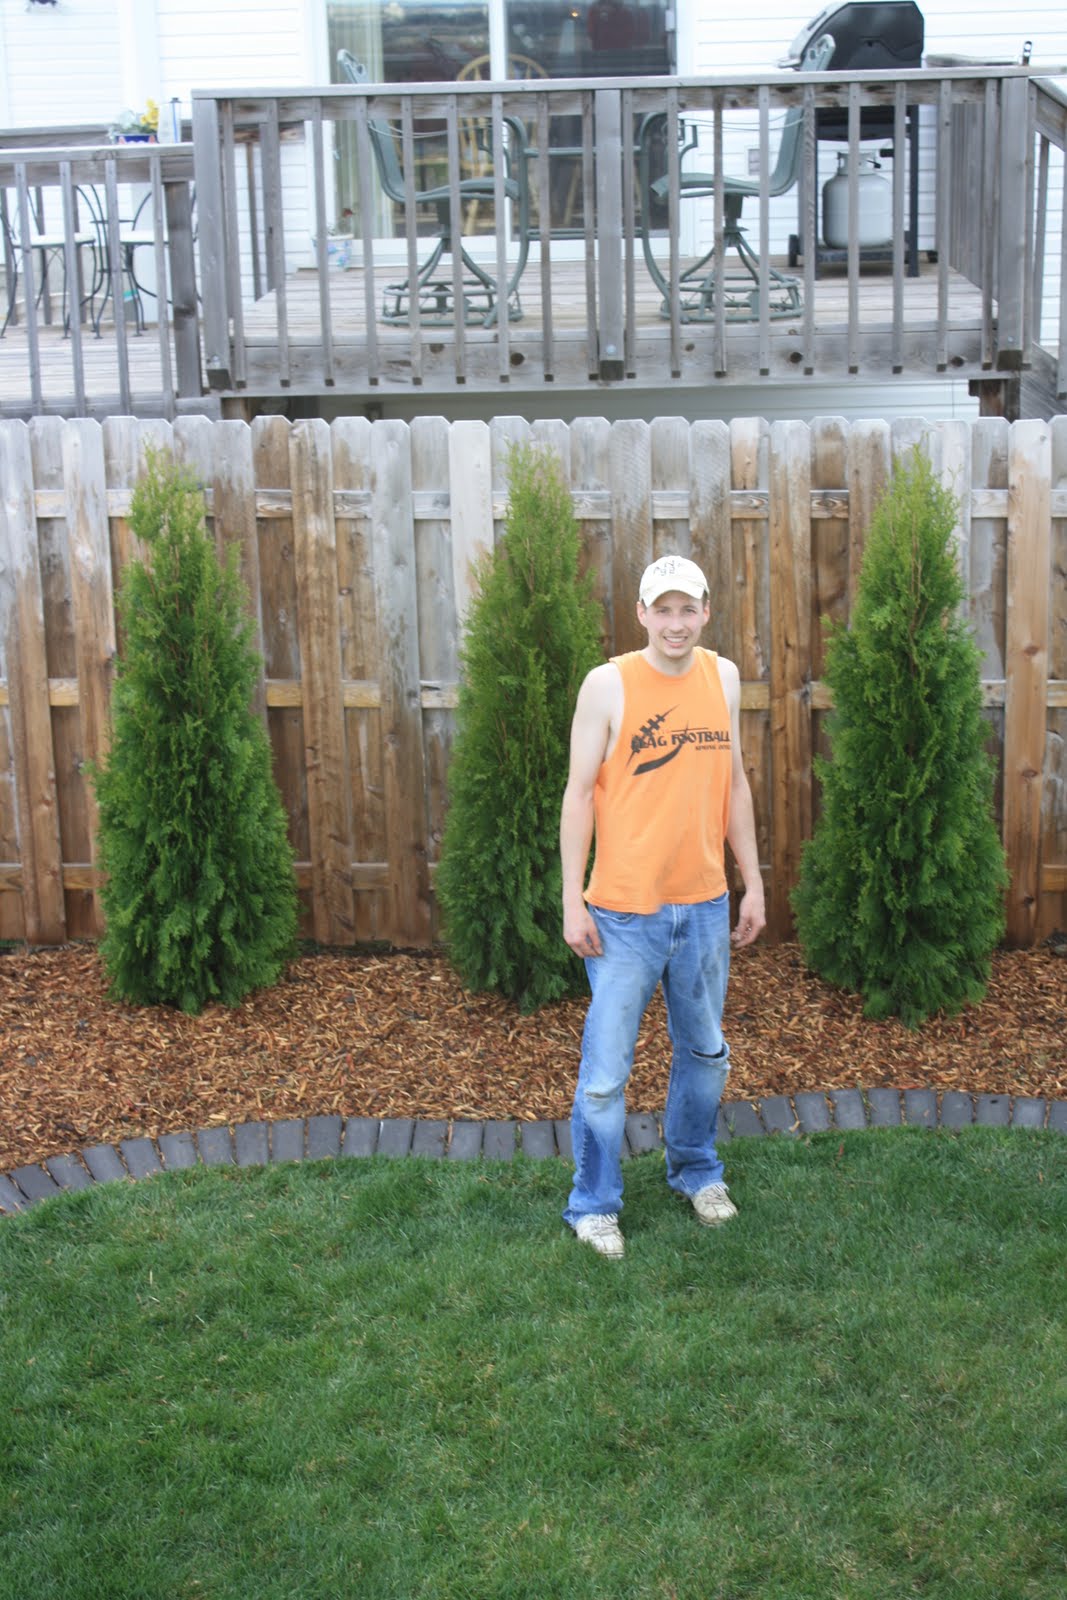
    And finally, we have done a little more landscaping in our back yard. We found 3 arborvitae trees for a great price so we decided to purchase them and plant them in our back yard. We have a neighbor's deck that directly and awkwardly overlooks our back yard. These trees should grow up nicely and help give our yard a little privacy. I also got brave and decided to plant annuals in pots for the first time! I actually enjoyed it and think they turned out nicely. My mom insists she has a blackish green thumb, so we'll see whether mine is more black or green...Love ya mom ;)
    P.S. Don't think I've forgotten about my promise to show a "how to" on upholstering a head board...I just haven't gotten around to the project yet! The warmer it gets outside, the less we are inside! It is in the 90s today...a record for this time of year!! The Texas girl in me is loving it!
    Ok ok, without further ado, photos over the last month:

Austin, TX Trip:

Easter:


Landscaping and Gardening:


Before


He always does a great job!


Finished!

My big pot in the backyard


Smaller pot for front steps

    Well, as I always say, hopefully it isn't another monh until I write again!! I hope y'all are all having a fabulous spring, love you all!!

-Carrie

Friday, April 1, 2011

How to: Redo a Lamp Shade

    Ever since Andrew and I have been married, I have been trying to get rid of the lamp he had that ended up in our living room.  Just not my style, I will put it that way :) Well, I have finally done it!  Not without a little work though.  I have been searching for a lamp for a long time to coordinate with the floor lamp we have that I love.  While I found a base that was perfect (and on sale!), the shade was red...our color scheme is brown, orange, light blue, tan, etc. I was not discouraged though! Sure, I could have gone out and purchased a new shade, but it probably would have cost more than this little project.  I had done some research in upholstering lamp shades, so I decided to go for it!  Here is a little tutorial on how to do it. No matter what type of lamp shade you have, you can do it!  The shade I used was actually a bit more difficult because it had a wire boning in it, so I could not adhere the new fabric to a large surface, I only had the top and bottom to work with. Regardless, I think it turned out pretty great, enjoy!
Here is the before:

Here is what you will need to get started:
-Iron
-Fabric scissors
-Fabric and coordinating finishing ribbon (I suggest purchasing this after you draw your pattern to save money on getting too much)
-Roll of tracing paper or wrapping paper works just fine
-Pencil
-Hot glue or fabric glue

Lets get started: (P.S. If you have a shade that is not currently covered, skip down to step 3)
1. Use an iron to remove the finishing ribbon. As you can see, it softens the glue so that it can be easily removed.  It should pull off pretty easily, if not, run the iron over it a little longer.


2. Next, use your fabric scissors to very carefully cut along the seams of the outside fabric and remove. Do not cut the inside liner!!


3. Iron your fabric
4. Make your pattern.  Roll out your tracing/wrapping paper.  If you are using wrapping paper, lay it pattern side down so you can use the white side to trace on.  Lay your lamp shade on its side and place your pencil along either end (you will need to trace both ends so starting at the top or bottom does not matter).  Roll your lamp along the paper and follow it with your pencil.  Make sure you start at a distinctive point so you do not make your pattern too long.  Do the same on the opposite end and draw straight lines to connect the top and bottom lines.  Cut out the pattern with a half inch border, better to have too much fabric than not enough.


5. Next, lay your pattern over your fabric and pin it all the way around.  You do not want your fabric shifting or your pattern to move as you cut so pinning is crucial to making a perfect cut!


6. Now, start gluing! If you are covering a flat surface shade, it is easier to use a spray adhesive. Start on the lamp's natural seam and spray small sections of your fabric at a time and attach, making sure you smooth out wrinkles and pull it tight.  If you are covering a lamp shade like mine with wire boning, you may want to grab a partner!  My handy husband was kind enough to help me.  Once you glue a seam (it is easiest to start on one of the wire boning pieces, it is a good anchor), start moving around the lamp laying down small increments of glue at a time on the top and bottom endge. I used hot glue, but you can also use fabric glue. As soon as the glue is down, have your partner pull the fabric tight and lay it over the glue.  Press the fabric down so it has a nice, tight, professional look.  Work your way around until you reach your original seam, trim the excess, fold the fabric under for a clean, finished look, then glue in place.


7. Now you have probably noticed your unfinished edges on the top and bottom.  Most lamps have a wire lip, use this on the top and bottom to tuck the fabric under.  Tuck small portions at a time and glue as you go; work your way around the lamp. Finally, once the top and bottom are tucked under, glue down your finishing ribbon on the inside to give the edges a perfect, finished look.  You can also purchase ribbon with a self adhesive which is very handy instead of glue!


8. FINALLY!  Step back and admire your work!  This shade did not take me long at all and the end result is so much better than what I had.  I got a custom shade for about $12, the fabric looks expensive, but I got it on sale, as well as the ribbon.  I already had the hot glue, and other materials.  Let me know what you think and I would love to see your refinished lamp shades!

I hope you enjoyed this blogging "How to".  I love crafting and decorating, so it is always fun when I can merge the two!  More "how to's" to come, I am going to be upholstering a head board soon so be on the look out!
-Carrie

Thursday, March 17, 2011

Scratch That!...

  So I posted earlier showing my new spring wreath...well I have a new, new spring wreath!! I love this one so much better! My sister found this tutorial on a blog so her and I both decided to make them, I had the day off so I finished mine. I'm so excited about it and hope I can maybe make them for others, I think it's a super cute idea! Enjoy:

The fabric


Jumbled


Wreath before


Final result
   There's my FINAL spring/summer wreath, for sure!
-Carrie